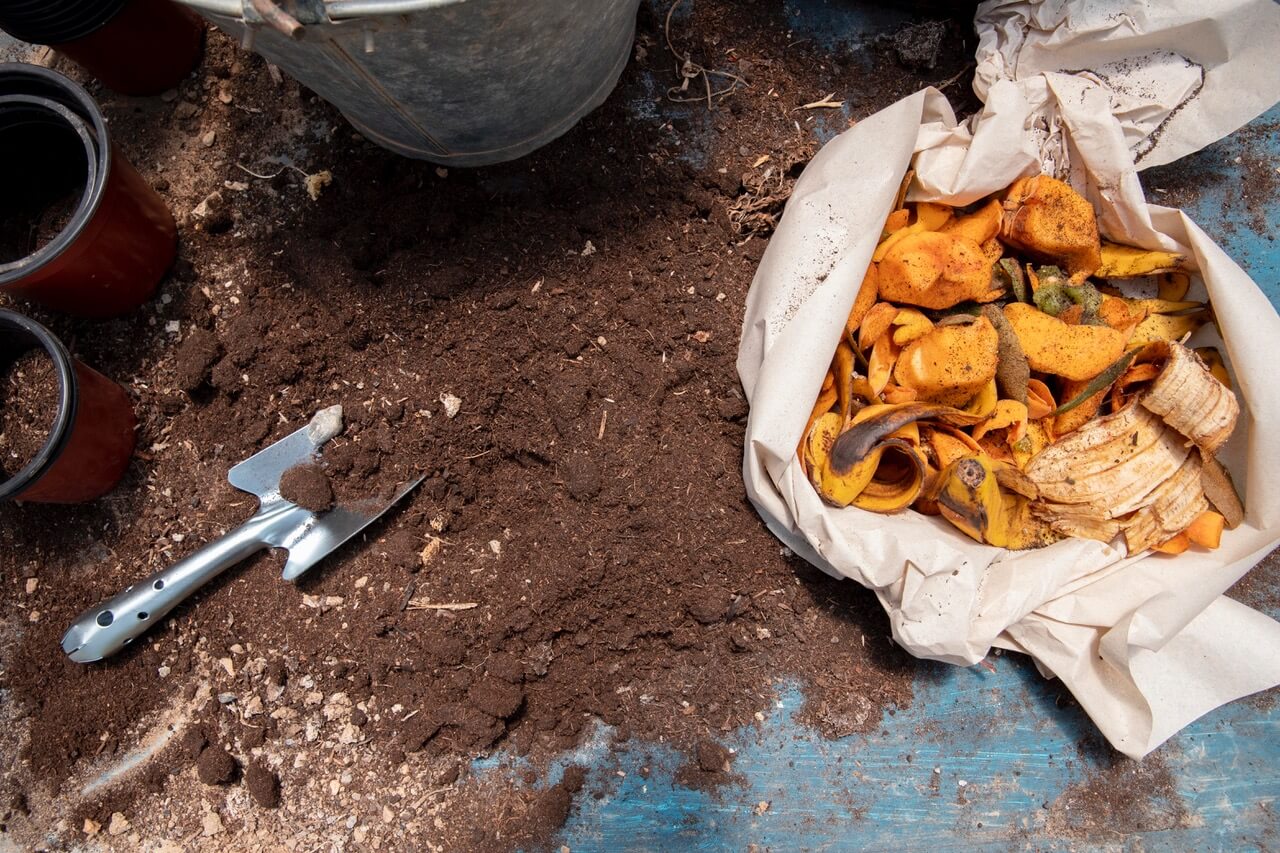
Composting leftover Halloween pumpkins is a great way to reduce waste and enrich your garden soil. And it’s easy, here’s how to do it:

remove decorations:
Before composting, make sure to remove any non-organic decorations like candles, paint, or stickers from the pumpkin. These items do not break down in compost and can contaminate the pile.
cut or smash:
To help the pumpkin break down faster, cut it into smaller pieces or smash it into smaller chunks. This increases the surface area and allows for quicker decomposition.
mix with other compostables:
Pumpkin material is considered “green” in composting terms, meaning it’s high in nitrogen. To balance the compost, mix the pumpkin pieces with “browns” such as dry leaves, shredded newspaper, or straw. Aim for a 50:50 balance between greens and browns.
layer it:
If you have a compost bin or pile, layer the pumpkin pieces with other compostable materials like kitchen scraps, yard waste, and more browns. This will help ensure good aeration and decomposition.
keep it moist:
Compost needs moisture to work effectively. Make sure your compost pile is consistently damp, like a wrung-out sponge. The pumpkin provides some moisture, but you may need to water it occasionally.
aerate the pile:
Turn your compost pile regularly (about once a week) to provide oxygen and mix the materials. This accelerates the decomposition process.
monitor and wait:
Depending on the size of the pumpkin pieces and the conditions in your compost pile, it may take a few months to a year for the pumpkins to completely break down. Keep an eye on your compost and adjust the moisture and aeration as needed.
use the finished compost:
Once the pumpkin and other materials have decomposed into rich, dark, earthy compost, you can use it to enrich your garden soil. It’s an excellent source of nutrients for your plants.
By composting your Halloween pumpkins, you’re not only reducing waste but also creating a valuable resource for your garden keeping it healthy!

